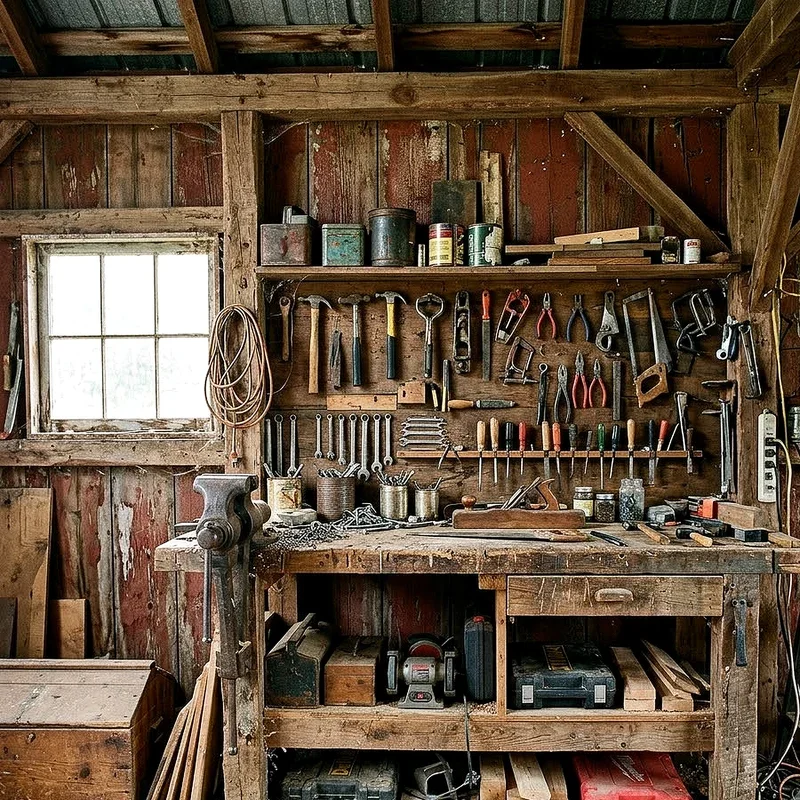
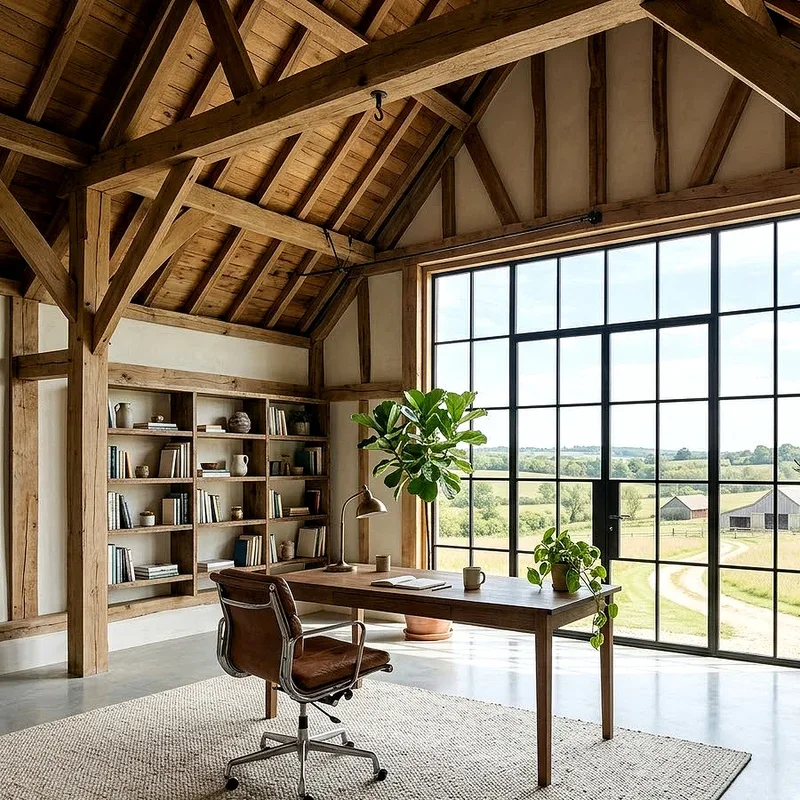
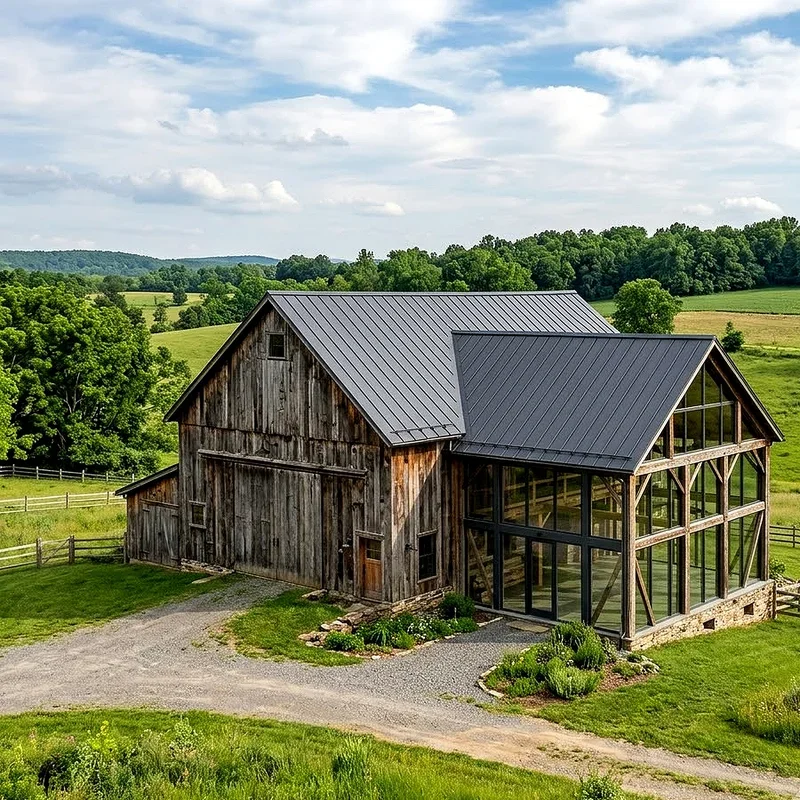
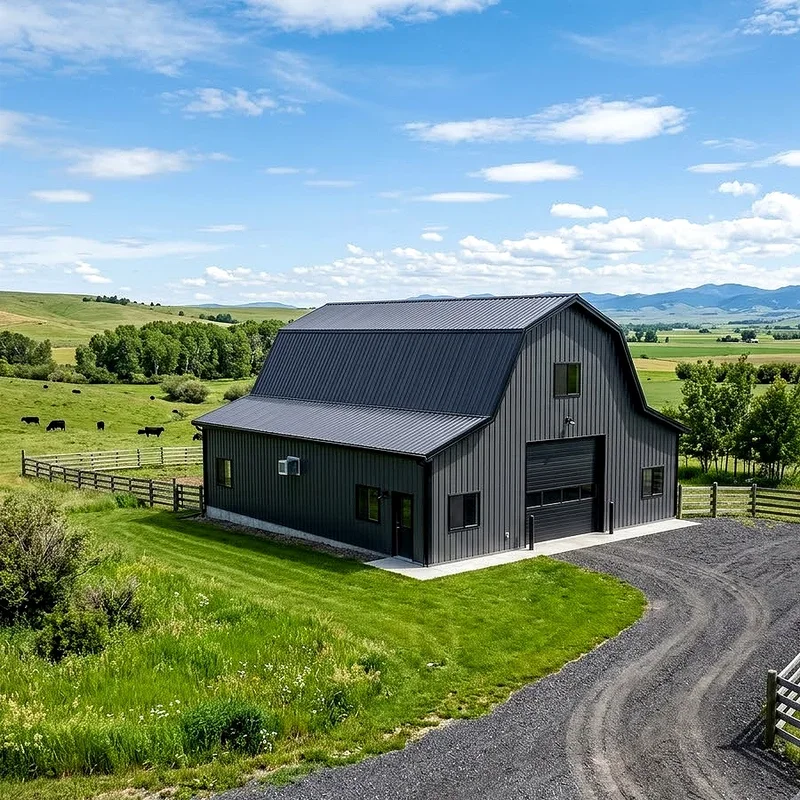
Turn your barn into a dream workshop with 15 smart, practical ideas for storage, lighting, layout, and lasting everyday organization.
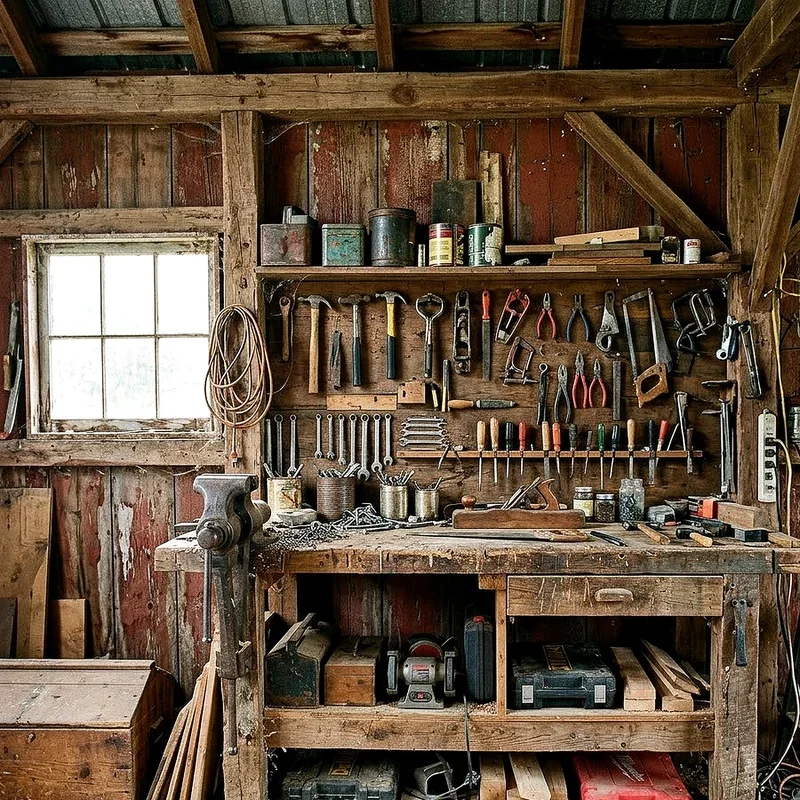
Ever walked into your barn, looked at that gorgeous open space, and thought, "This could be so much more than a place where junk goes to retire"? You are not alone. A barn is basically a blank canvas with great bones, and turning it into a workshop feels a bit like adopting a stray dog with enormous potential. It needs structure, a little love, and a plan. The good news? You do not need a contractor's budget or a magazine-worthy aesthetic to pull this off. You need smart zoning, honest storage, and a few clever tricks. Let's walk through fifteen ideas that turn your barn from chaotic to genuinely useful.
1. Map Your Zones Before You Move a Single Tool
Before you drag anything heavy across that concrete floor, grab a notepad and sketch your barn from above. Where does the light land at noon? Where do the big doors swing? Think of your barn like a kitchen: you would never park the fridge three rooms from the stove, right? Group your work into zones such as cutting, assembly, finishing, and storage, then arrange them in the order you actually move through a project. Keep the messiest work near ventilation and the quietest tasks tucked away. This single hour of planning saves you months of frustrated shuffling. Trust me, rearranging a table saw twice cures anyone of skipping the sketch.
2. Build a Rock-Solid Central Workbench
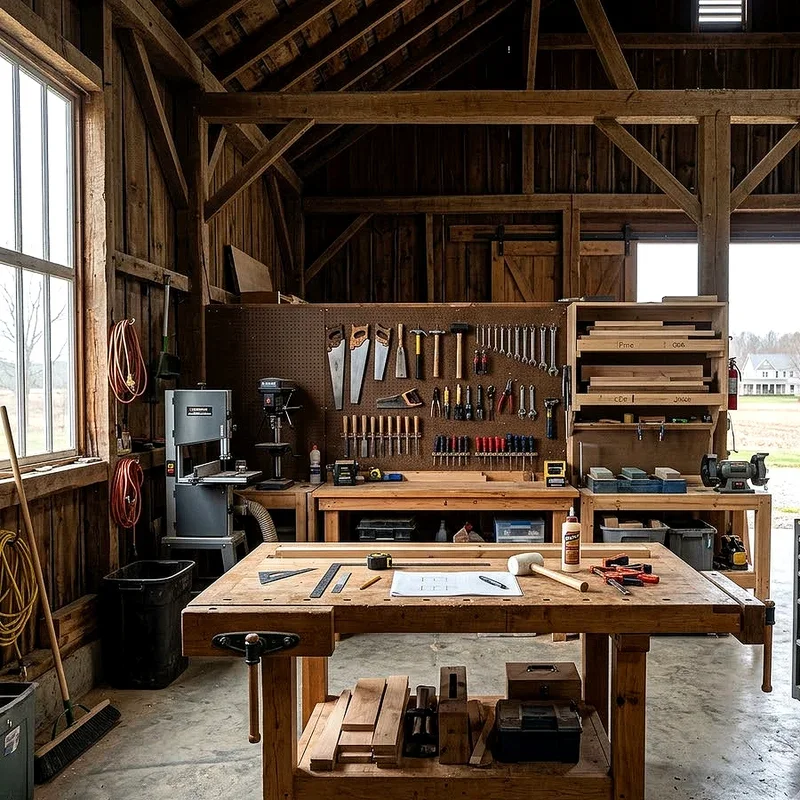
Your workbench is the heartbeat of the whole space, so treat it like one. A wobbly bench turns every project into a wrestling match, and nobody enjoys chasing a sliding board across a shaky surface. Build yours from thick laminated hardwood or a doubled sheet of plywood, and set the height around your wrist level when standing. Add a vise on one corner, dog holes across the top, and a shelf underneath for clamps. Position it where you can walk fully around all four sides, because access matters more than square footage. Why crowd it against a wall when a barn gives you room to breathe? Give that bench the center stage it deserves.
3. Install Layered Lighting That Actually Works
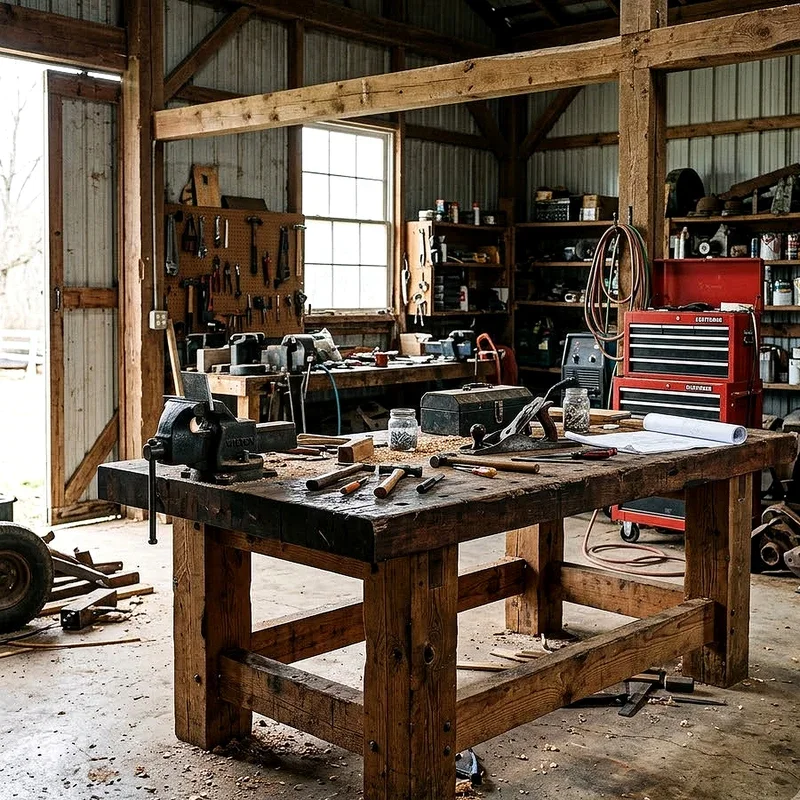
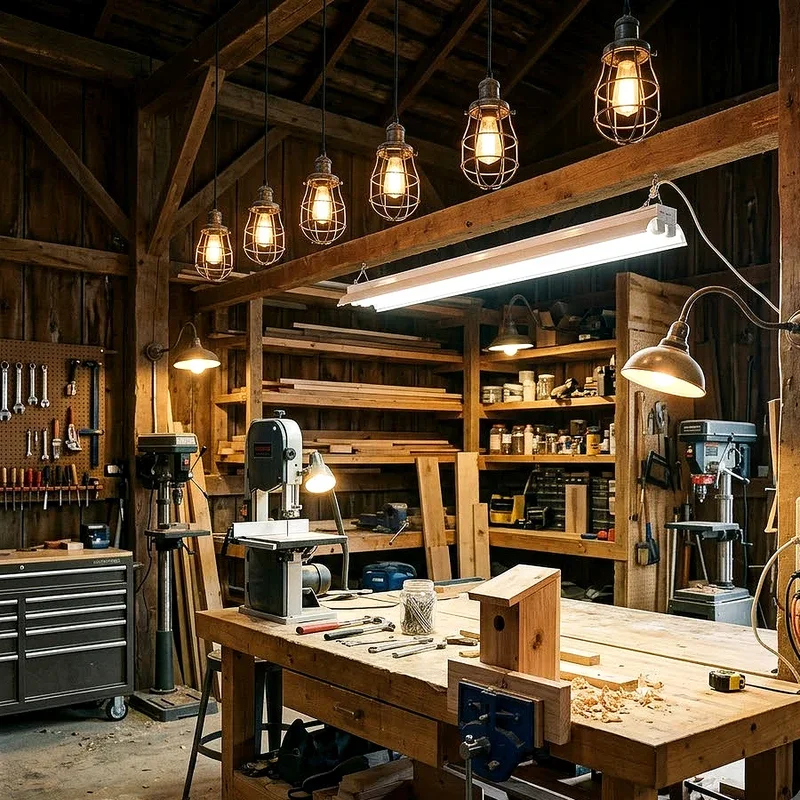
Barns love shadows, and shadows love hiding your pencil lines. One sad bulb dangling from a beam simply will not cut it, so think in layers like a photographer would. Start with bright overhead LED shop fixtures spaced evenly across the ceiling for general coverage. Then add task lighting directly above your bench, drill press, and saw, since those spots demand real precision. Finally, toss in a movable clamp light for crawling into dark corners or checking inside a cabinet carcass. Skylights or clear roof panels stretch your daylight hours for free. Good lighting does not just help you see better, it genuinely helps you work safer and faster.
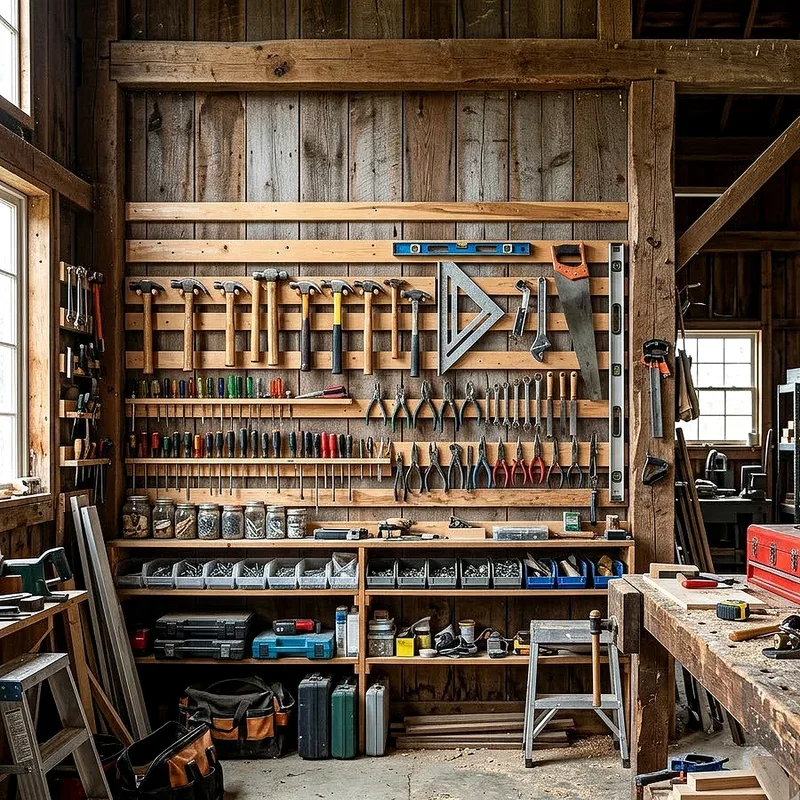
4. Go Vertical With French Cleat Walls
Barn walls are enormous, and most of us waste them completely. French cleats fix that overnight. The idea is beautifully simple: mount angled strips of plywood horizontally across your wall, then build hooks, shelves, and holders with matching angles that hang anywhere along them. It works like a giant, grown-up version of building blocks. Need your chisels closer to the bench this week? Lift the holder off and slide it over. Nothing is permanent, and nothing is wasted. Start with one wall section near your main work area and expand as you go. Within a month you will wonder how you ever survived with a pegboard flopping around.
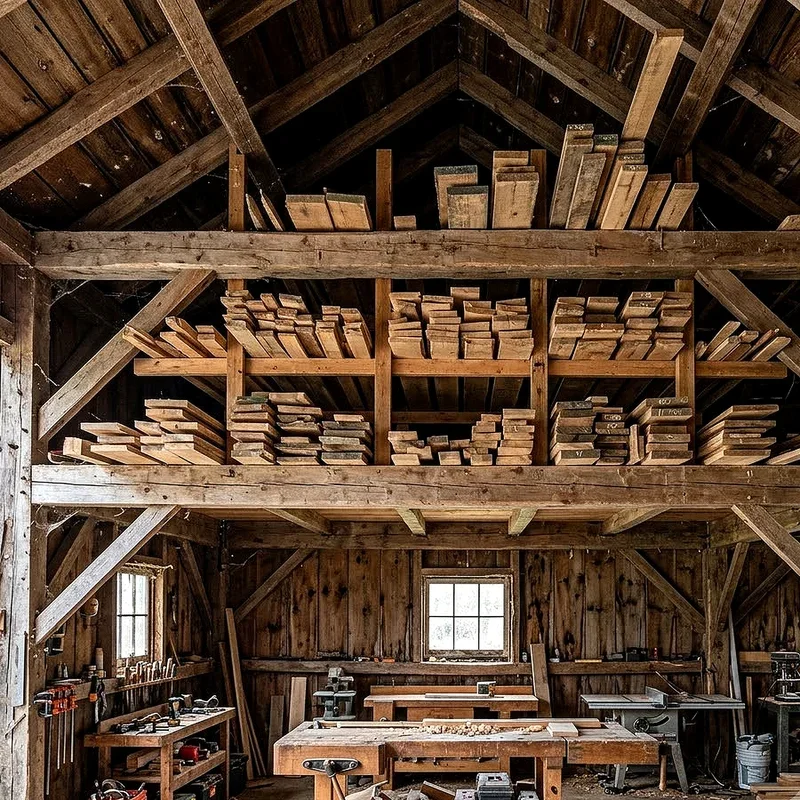
5. Turn Rafters Into Lumber Storage
Look up. That web of rafters above your head is prime real estate for the one thing that always clutters a workshop floor: lumber. Long boards leaning in a corner inevitably warp, fall, or trip somebody, usually all three. Instead, run sturdy horizontal supports between joists or add sturdy brackets along a wall high overhead, then slide your boards up there flat and supported. Air circulates, wood stays straight, and your floor stays walkable. Just be honest about weight, since lumber is far heavier than it looks, so anchor into structural members rather than sheathing. Keep a stepladder nearby, and sort by length so grabbing one board does not start an avalanche.
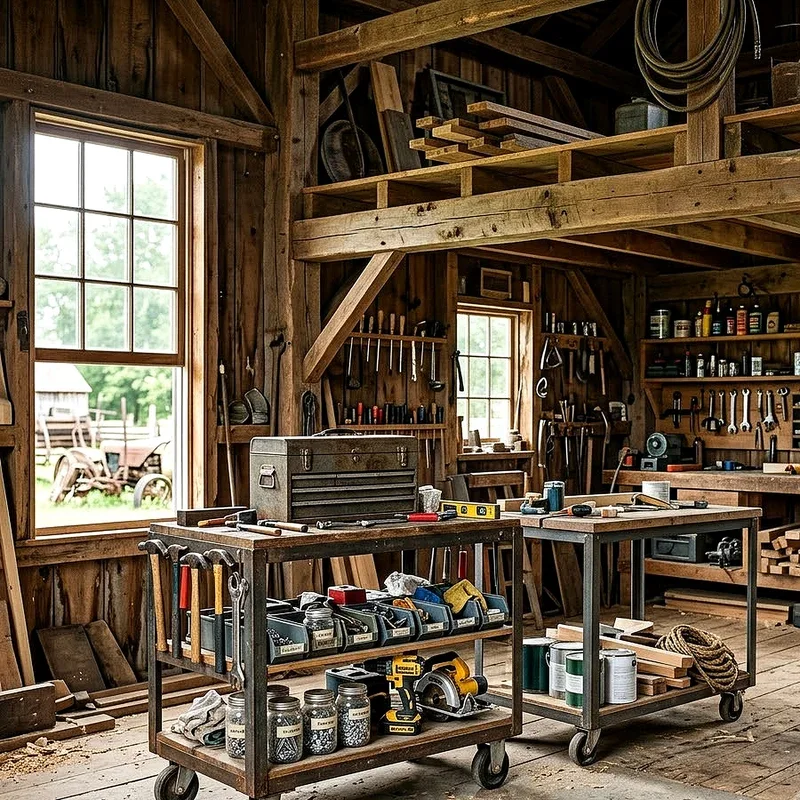
6. Add Rolling Carts for Flexible Workflow
A barn workshop is a living thing, and your needs shift from project to project. Rolling carts give you that flexibility without rebuilding anything. Build or buy a few sturdy carts with locking casters, then dedicate each one to a purpose: one for sanding supplies, one for glue and clamps, one as a mobile outfeed table beside your saw. When the job changes, the furniture follows you. Think of them as helpful assistants who stand exactly where you point. Make the tops flush with your table saw height and suddenly a cart doubles as support for wide sheets. Lock those wheels before you lean on anything, obviously.
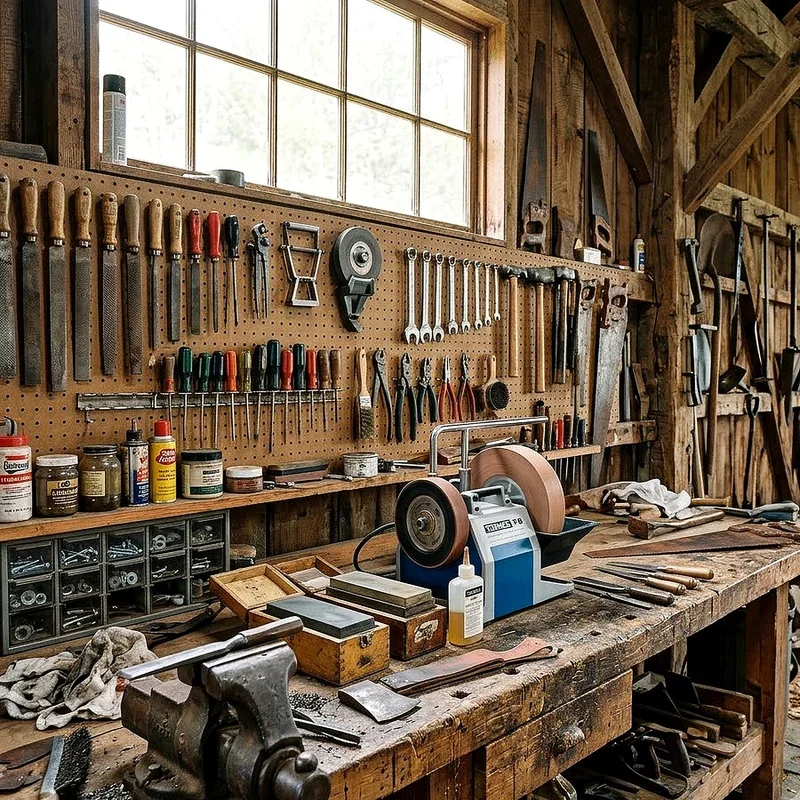
7. Create a Dedicated Sharpening and Repair Station
Dull tools do not just slow you down, they quietly make your work worse and your hands tired. So give sharpening a permanent home instead of a "someday" pile. Claim a small bench or wall section with your stones, honing guide, strop, and a bit of good light. Keep a shallow tray underneath to catch water or oil, and hang a small mirror nearby if you like checking bevels closely. Add a drawer for spare blades, screws, and belts, since machines always need small fixes at inconvenient moments. When maintenance takes two minutes instead of twenty, you actually do it. That habit alone lifts every project you build.
8. Tame the Dust With Smart Collection
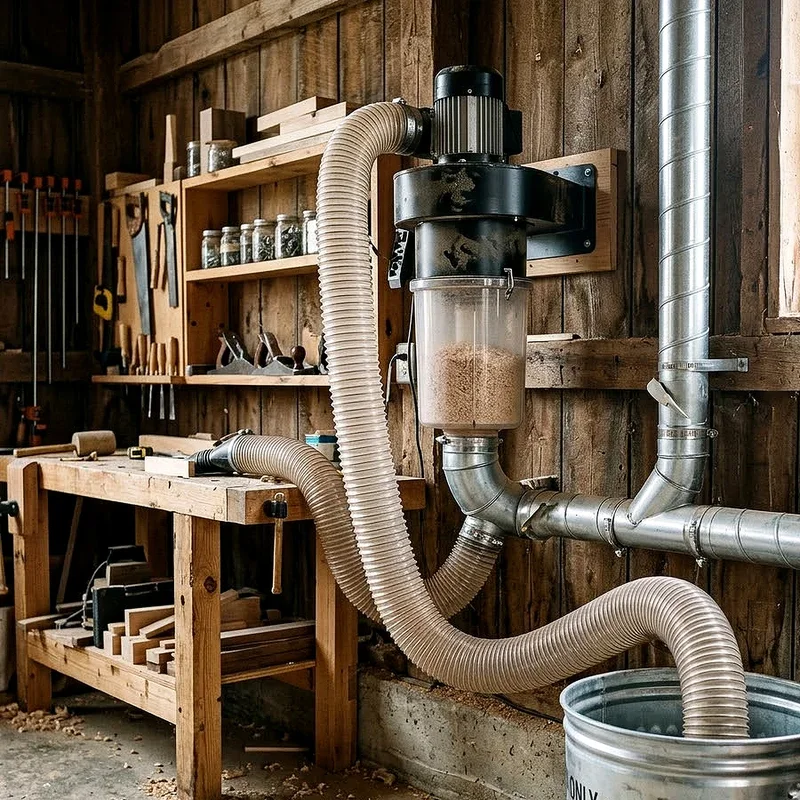
Dust in a barn spreads like gossip in a small town, reaching corners you never imagined. Beyond the mess, fine particles hurt your lungs and settle onto wet finishes at the worst possible moment. Set up a central dust collector or a solid shop vac with automatic switching, then run smooth ducting to your biggest offenders like the table saw, planer, and sander. Add blast gates so suction stays strong where you need it. Hang an overhead air filter to catch the floating stuff, and crack the barn doors for cross ventilation on heavy days. Sweep with a magnetic broom for stray screws while you are at it.
9. Use Clear Bins and a Real Labeling System
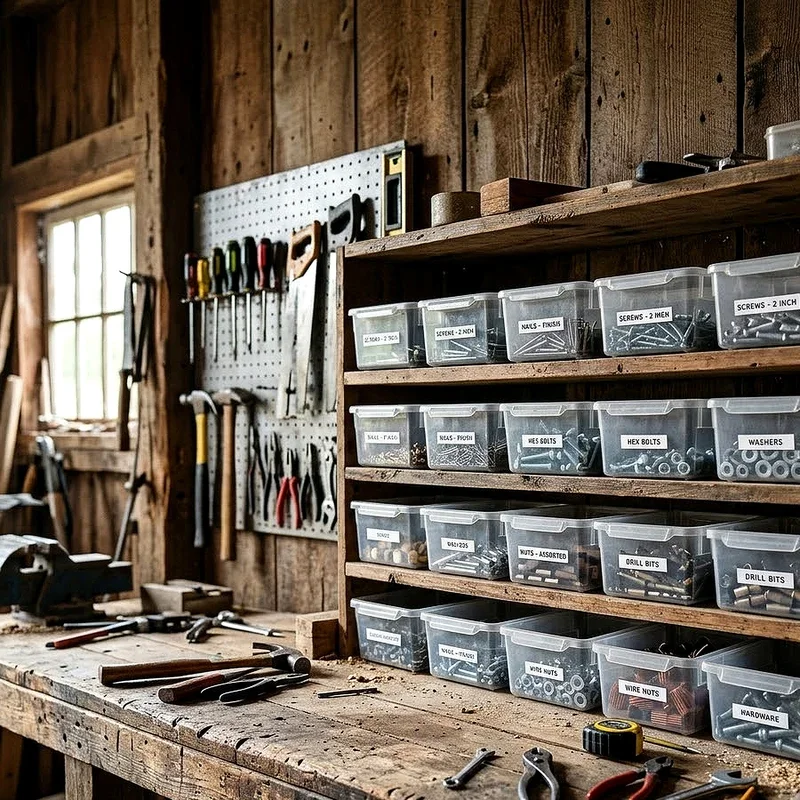
Nothing eats an afternoon quite like hunting for a specific screw you know you own. Clear bins solve half that problem instantly, because your eyes do the searching before your hands do. Sort hardware by type and size, then label every container with a printed tag rather than a scrawled marker note that fades. Group like things together, keep frequently grabbed items at chest height, and park rarely used stock up high. Shallow bins beat deep ones, since deep containers turn into archaeological digs. Snap a photo of your shelves once you are organized, then use it as a map when things drift. Future you will be genuinely grateful.
10. Set Up Power Where You Actually Need It
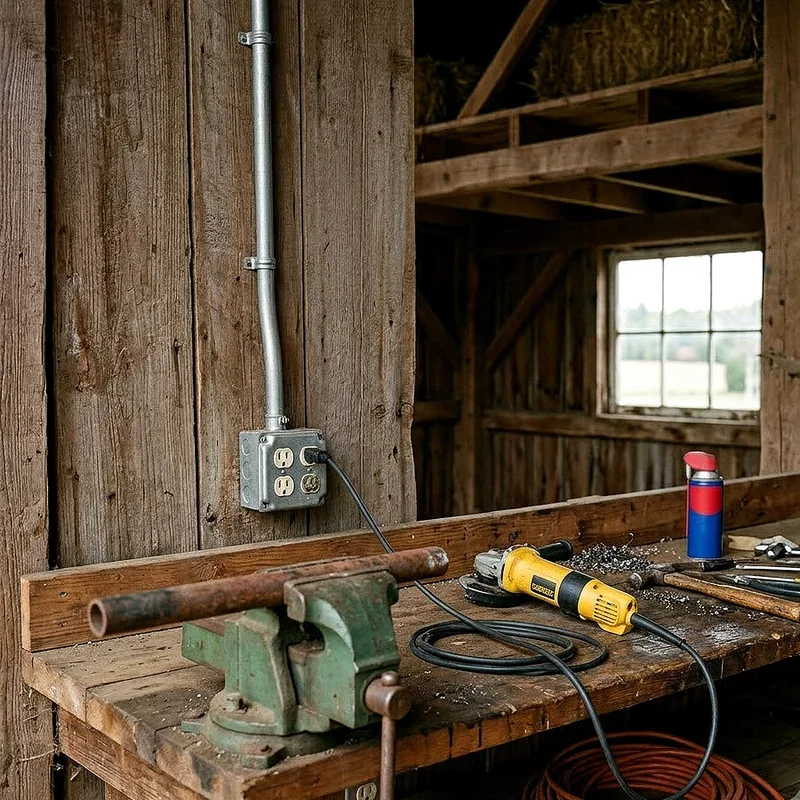
Extension cords snaking across a barn floor are tripping hazards dressed up as convenience. Solve it properly by planning outlets around your zones instead of your walls. Run a dedicated circuit for heavy machines, add outlets every few feet along your bench wall, and consider retractable cord reels dropping from the ceiling over your main work area. That overhead drop keeps cords off the floor entirely, which feels like magic the first time you use it. Have an electrician handle anything beyond your comfort level, since barns often carry older wiring. Label your breakers clearly too, because guessing during a blown fuse gets old fast.
11. Insulate and Seal for Year-Round Comfort
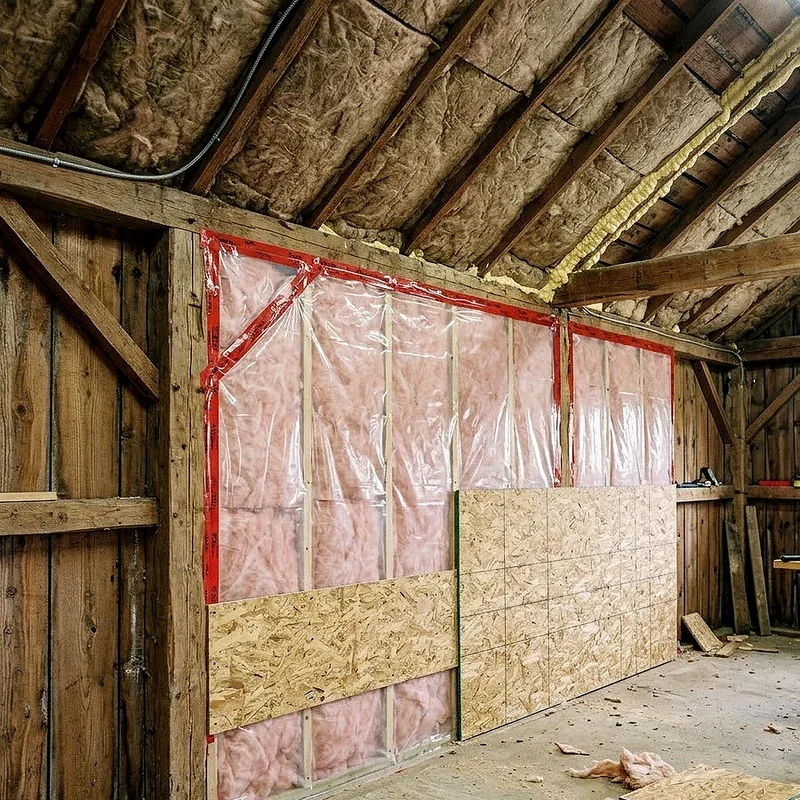
A barn in January can feel like a walk-in freezer, and in August like a slow oven. Neither invites you to spend a Saturday building something. Insulating the walls and roof changes that completely, and it also softens the echo that makes barns so loud. Seal gaps around doors and windows, add weather stripping, and consider a vapor barrier if moisture sneaks in. Even a modest heater or a couple of fans work far better in a sealed space than a drafty one. Stable temperature protects your tools from rust and keeps glue and finishes performing properly. Comfort is not a luxury here, it is what keeps you working.
12. Carve Out a Clean Finishing Corner
Sawdust and wet varnish are sworn enemies, and they will find each other unless you separate them deliberately. Pick a corner away from your cutting zone, ideally near a window or vent, and set it up for finishing only. Hang plastic sheeting or build a simple partition wall to block drifting dust. Add a small table with a turntable surface, good lighting, and shelving for stains, brushes, and rags. Store oily rags in a sealed metal container, since they genuinely pose a fire risk. Give finished pieces a safe drying rack where nothing bumps them. Clean surroundings show up directly in the shine of your final coat.

13. Design Smart Storage for Awkward Long Items
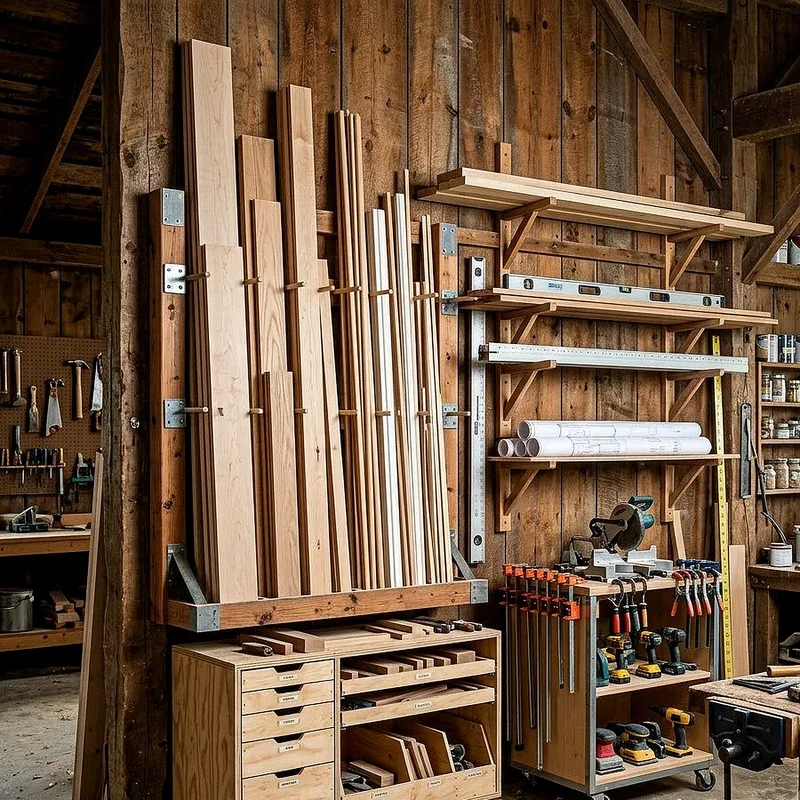
Every workshop collects items that refuse to fit anywhere: clamps, levels, pipe, trim scraps, and those long handled tools. Instead of letting them lean in a sad pile, build vertical storage that suits their shape. A simple rack of PVC tubes mounted upright holds dowels and molding beautifully. A wall-mounted bar keeps pipe clamps organized and grabbable. Bungee cords stretched across studs corral odd offcuts without a full cabinet. The trick is matching the storage to the object rather than forcing everything onto shelves. Once these awkward things have addresses, your floor stays open and your walking paths stay clear, which is half the battle won.
14. Build a Planning Nook With a Whiteboard
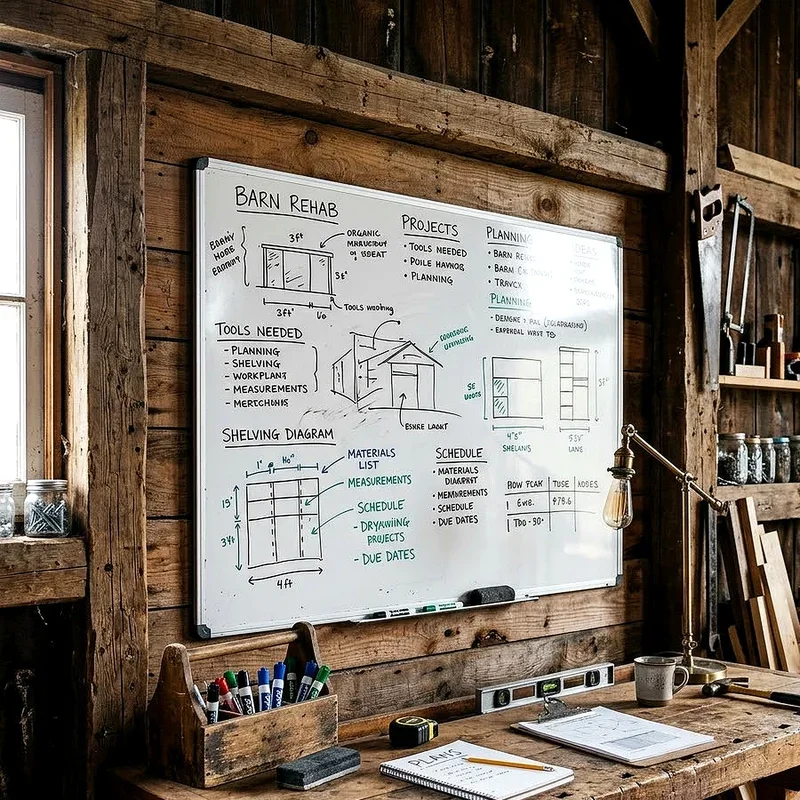
Workshops are not only about hands, they are about heads too. Carve out a small quiet corner with a stool, a narrow desk, and a big whiteboard on the wall. Sketch dimensions, jot cut lists, track what you ordered, and pin up inspiration photos where you will actually see them. A clipboard hanging nearby saves measurements from getting lost on scrap paper. Keep a tablet or notebook here for tutorials and plans, well away from dust and splashes. This nook becomes where mistakes get caught before they cost you lumber. Ten minutes of thinking here regularly saves an entire wasted afternoon out there.
15. Make Safety Gear Impossible to Ignore
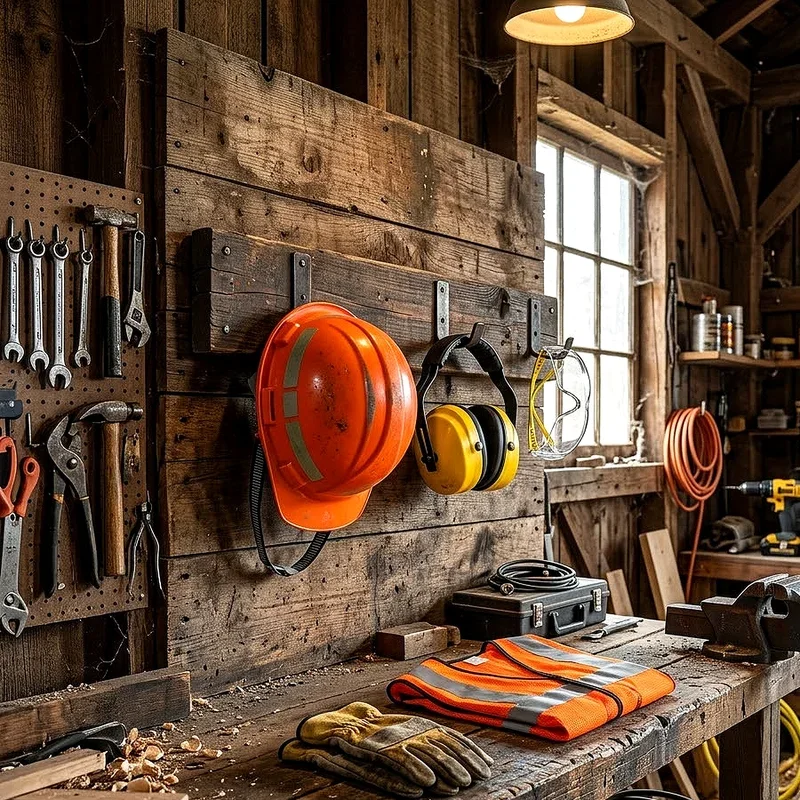
Safety equipment only works when you actually reach for it, and we all know how easy it feels to skip goggles for just one quick cut. Beat that instinct with placement. Hang eye protection, hearing muffs, and dust masks directly beside the machines that demand them, not across the barn in a drawer. Mount a fire extinguisher near the door and another by the finishing area. Keep a stocked first aid kit at eye level with a light above it. Add a clearly marked emergency shutoff for your big machinery. When the right choice takes zero extra steps, you will make it every single time.
Conclusion
A barn workshop does not become organized by accident, it becomes organized through a handful of deliberate choices repeated over time. Start with zoning, get your lighting and bench right, then build storage that matches how you actually work rather than how a catalog says you should. Add comfort, tame the dust, and put safety gear within arm's reach. You do not need to do all fifteen this weekend. Pick two, finish them properly, and enjoy the difference. Before long, walking into your barn will feel less like facing a mess and more like coming home.
Read next: 15 Barn Flooring Ideas for Easy Cleaning and Maintenance
Frequently Asked Questions
Q1: How much space does a functional barn workshop really need?
A: Around 400 square feet handles most projects comfortably, though smart layout matters far more than raw size.
Q2: Should I insulate my barn workshop before organizing it?
A: Yes, insulate first, since installing wall storage afterward becomes much harder and considerably more expensive overall.
Q3: What is the best flooring for a barn workshop?
A: Sealed concrete works best, offering durability, easy sweeping, and solid support for heavy stationary machinery.
Q4: How do I stop tools from rusting in a barn?
A: Control humidity with sealing and dehumidifiers, then wipe metal surfaces with protective oil regularly.
Q5: Can I convert a barn workshop myself without professionals?
A: Mostly yes, though hire licensed electricians for wiring and inspect structural changes before adding heavy loads.
Stay up to date with our latest ideas!