How to Put Harness on Dog: Step-by-Step Training Guide That Actually Works
Master the art of harnessing your pup! Learn foolproof techniques, avoid common mistakes, and make walks enjoyable for both you and your furry friend.
Look, we've all been there. You've just brought home a shiny new harness for your four-legged buddy, feeling pretty confident about the whole situation. But then reality hits. Your dog's doing the wiggle dance, you're tangled up like you're practicing for Cirque du Soleil, and somehow the harness ends up sideways. Yikes! Don't sweat it, though. Learning how to properly harness your pup isn't rocket science, but it does require a bit of patience and know-how. Whether you've got a squirmy puppy or a senior dog who's set in their ways, this guide's got your back. We'll walk through everything from choosing the right harness style to actually getting it on without starting World War III.
Understanding Why Harnesses Beat Collars Every Time
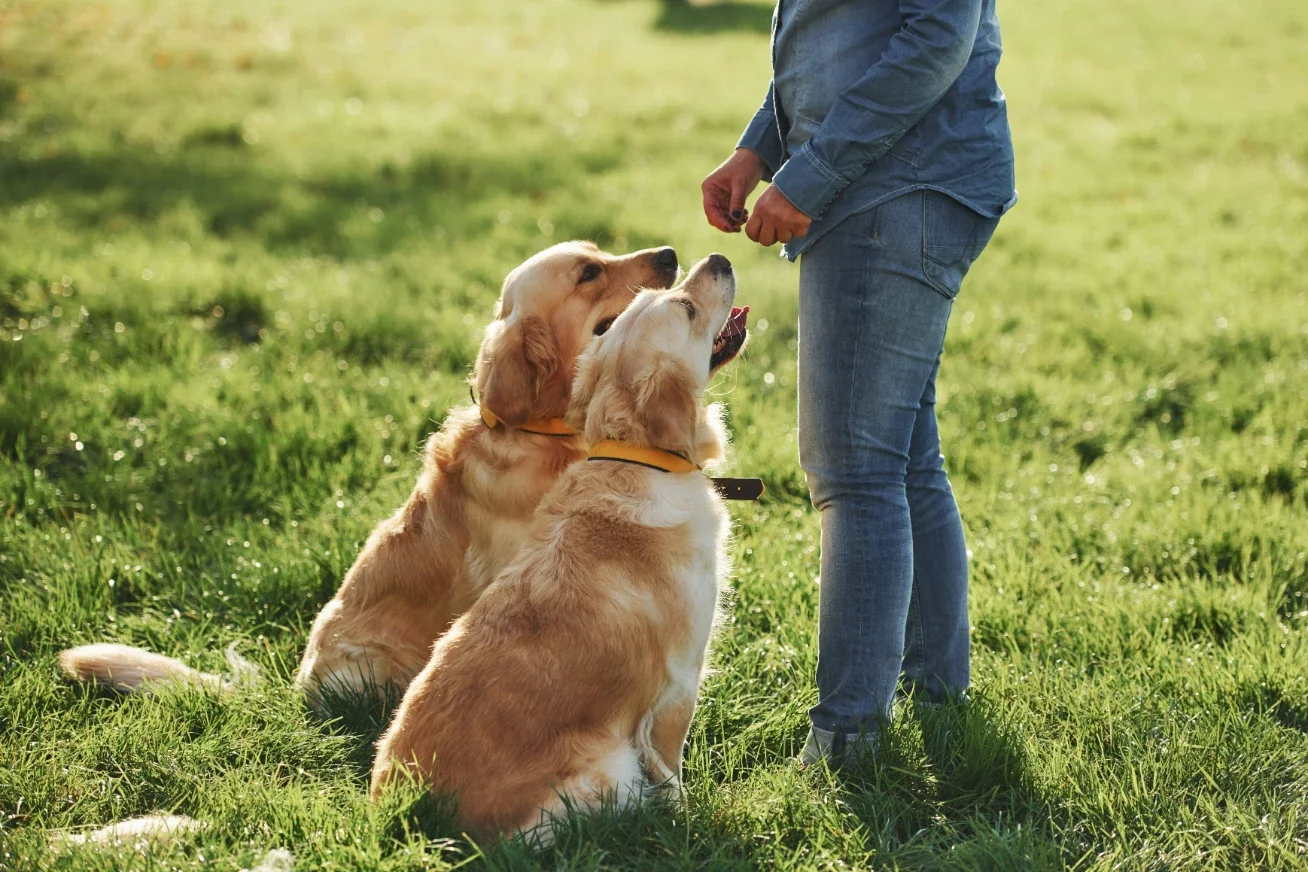
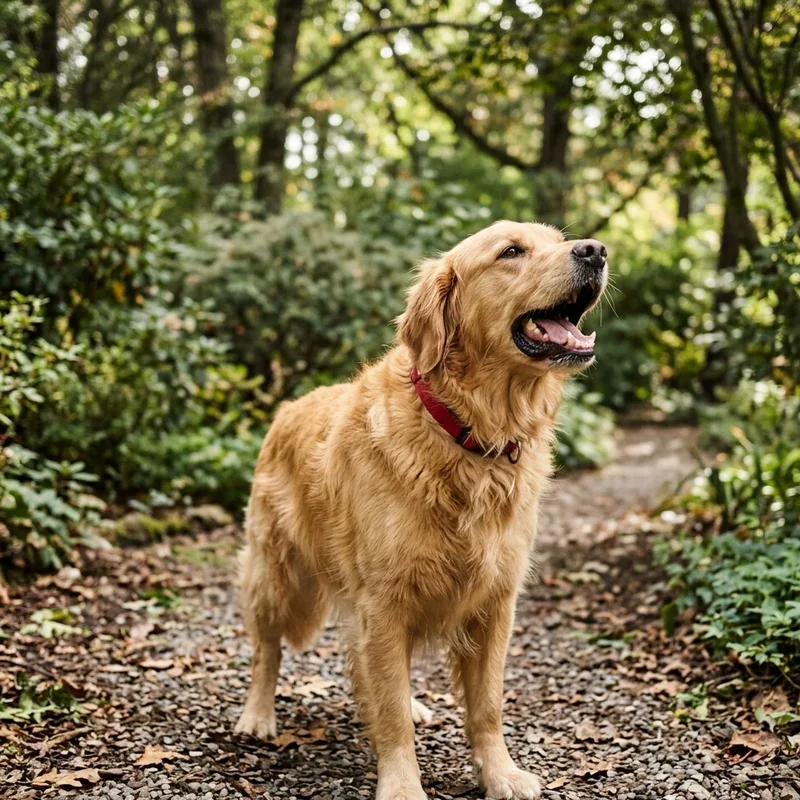
Here's the deal. Collars might seem easier at first glance, but they're actually putting unnecessary pressure on your dog's throat and neck. Not cool, right? Harnesses distribute the pulling force across your pup's chest and shoulders, making walks way more comfortable and safer overall. Plus, if you've got a Houdini dog who slips out of collars like a magician, harnesses are game changers. They're especially fantastic for dogs with respiratory issues, tiny breeds who are prone to trachea problems, and those enthusiastic pullers who act like they're training for the Iditarod every time you clip on the leash. Vets everywhere are giving harnesses the thumbs up because they prevent injuries and give you better control without causing discomfort. It's honestly a no-brainer once you understand the benefits.
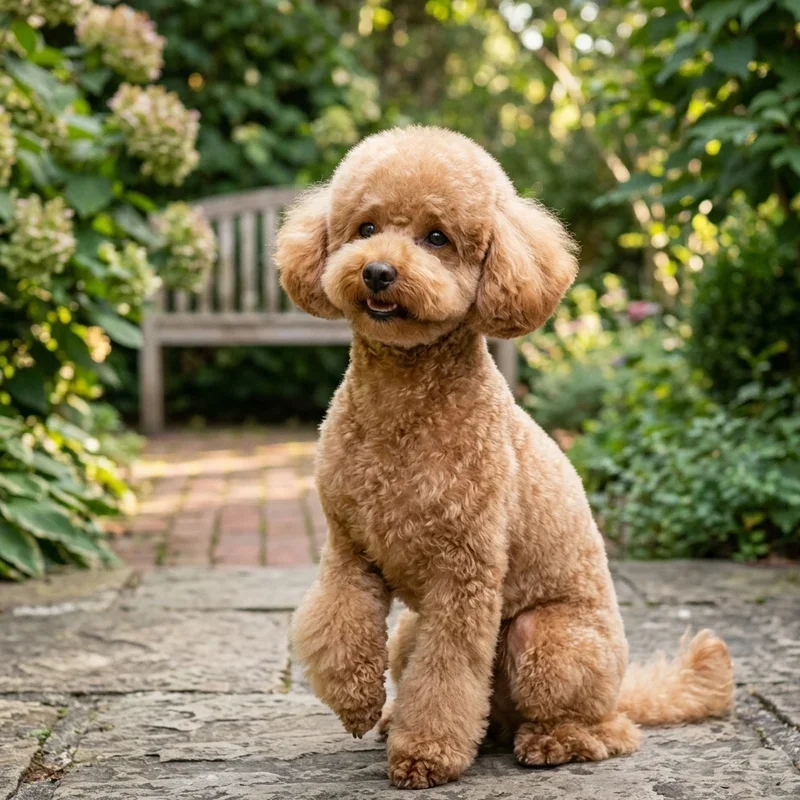
Picking the Perfect Harness Style for Your Pooch
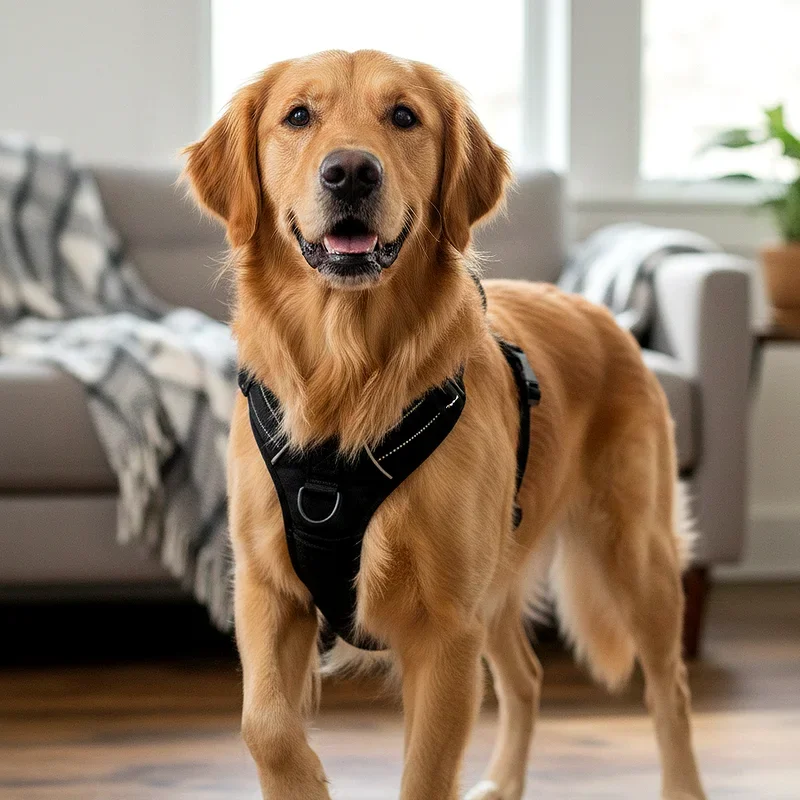
Alright, so harnesses aren't exactly one-size-fits-all. There are several types out there, and choosing the right one makes the whole putting-it-on process about a million times easier. First up, you've got your standard back-clip harnesses where the leash attaches between the shoulder blades. These are super popular and great for well-behaved walkers. Then there's the front-clip variety, which hooks at the chest and helps discourage pulling by redirecting your dog's momentum. For serious pullers or larger breeds, dual-clip harnesses give you options for both attachment points. Step-in harnesses are awesome for dogs who hate things going over their heads, while overhead harnesses work better for pups who get antsy about lifting their paws. Take a good look at your dog's personality and walking habits before making your choice. Trust me, this decision matters way more than you'd think.
Measuring Your Dog Like a Total Pro
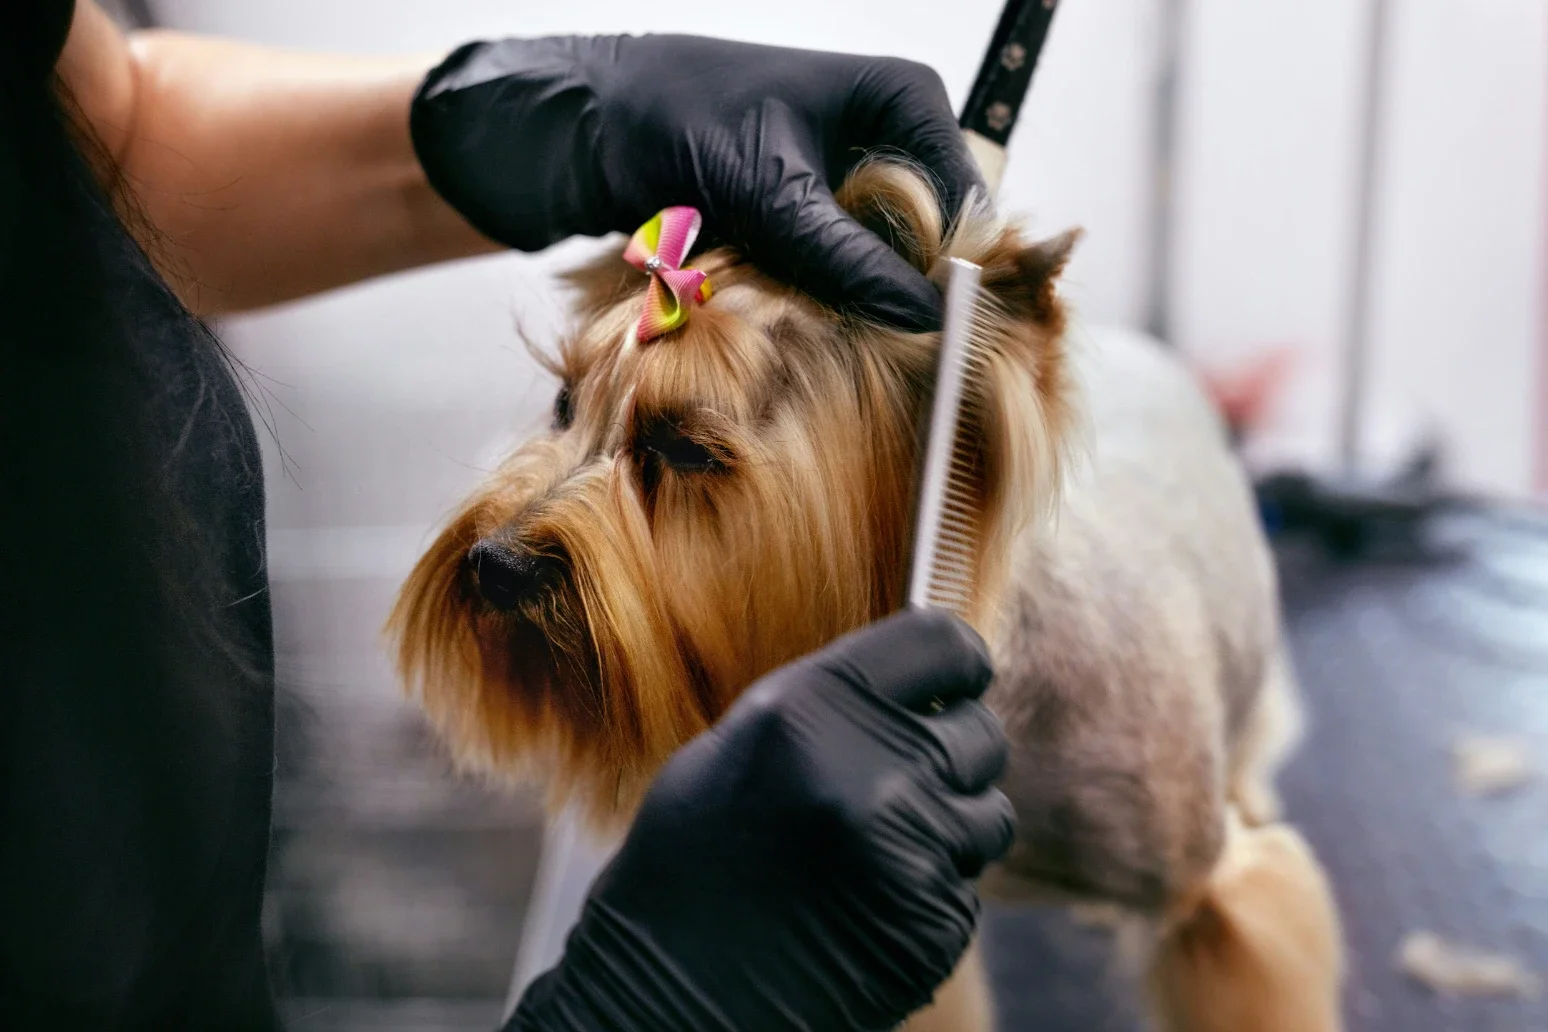
Before you even think about strapping on that harness, you gotta make sure it fits properly. A harness that's too tight will chafe and irritate your pup's skin, while one that's too loose becomes an escape artist's dream come true. Grab a soft measuring tape and get ready to channel your inner tailor. You'll need to measure around the widest part of your dog's chest, usually right behind the front legs. Don't pull the tape too snug or leave it too slack. You want it comfortably fitted, like how you'd wear your favorite jeans. Most harnesses come with adjustable straps, which is fantastic, but starting with the correct size range saves you tons of hassle. Write down those measurements and double-check the manufacturer's sizing chart before hitting that buy button. Different brands size things differently, so what's a medium for one company might be a large for another.
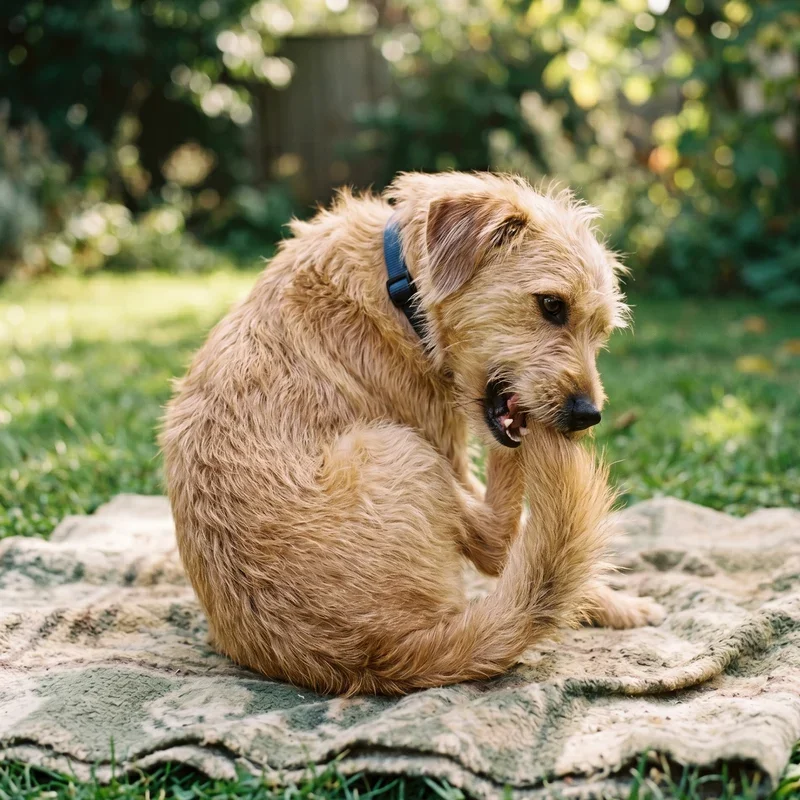
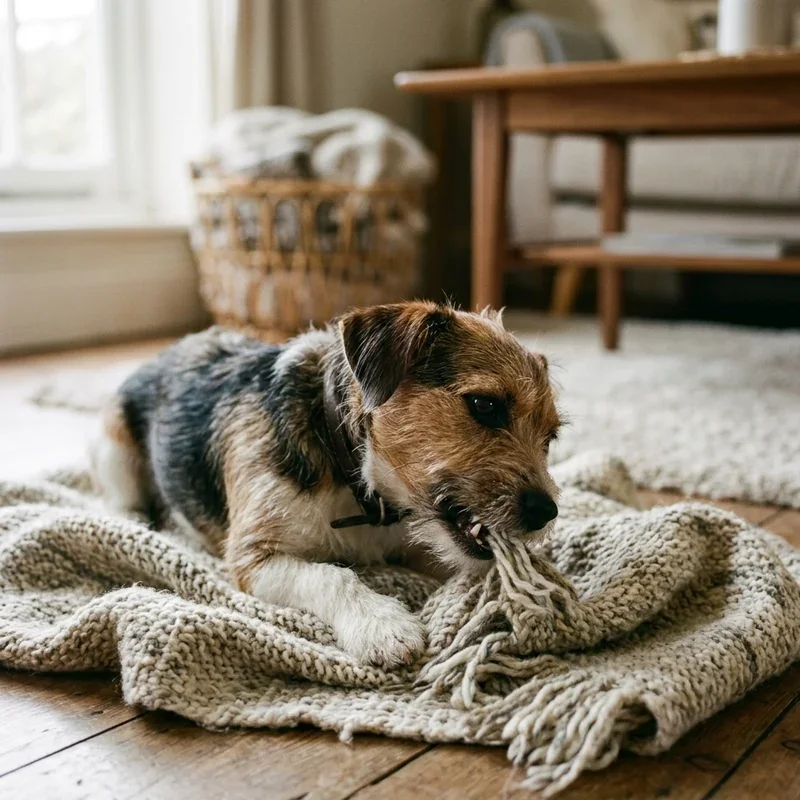
Getting Your Dog Comfortable With the Harness First
Hold up! Don't just ambush your dog with this weird contraption. That's a recipe for resistance and drama. Instead, let your pup investigate the harness on their own terms first. Toss it on the floor and let them sniff it, paw at it, and generally figure out it's not some scary monster. You can even toss some treats near it or rub it with something that smells good to them. The goal here is to create positive associations right from the start. Over the next few days, bring the harness out during happy times. Maybe while you're playing or right before dinner. Let your dog see it's connected to good stuff happening. Some dogs take to new equipment immediately, while others need more time to warm up to the idea. There's no rush here, folks. Building that positive connection now means way less fighting later when you're actually trying to put the thing on.
How to Put Harness on Dog: Step-by-Step Training Guide for Overhead Styles
Now we're getting to the good stuff! For overhead harnesses, also called H-style or Roman harnesses, you'll slip the harness over your dog's head first. Start by holding the harness open with both straps forming a circle. Get down to your dog's level because looming over them feels intimidating. Call your pup over in a cheerful voice and let them stick their head through the opening. Don't force it! If they pull back, that's okay. Just pause, offer a treat, and try again. Once their head's through, you'll need to lift each front leg and guide it through the corresponding leg loop. Left leg through the left loop, right leg through the right loop. Sounds simple enough, but wiggly dogs can make this tricky. Go slow and steady. After both legs are through, reach under your dog's belly and buckle or clip the straps together. Give those straps a gentle tug to make sure everything's secure, then adjust the fit so you can slip two fingers comfortably between the harness and your dog's body. Boom! You did it!
Mastering the Step-In Harness Technique
Step-in harnesses are brilliant for dogs who absolutely hate having things pulled over their heads. The process is totally different but honestly easier once you get the hang of it. Lay the harness flat on the ground with the inside facing up. You should see two leg holes and be able to identify which is left and which is right. Position your dog so they're standing over the harness facing forward. Now here's where it gets fun. Gently lift one paw and place it in the first leg hole, then do the same with the other paw. Your dog's now standing in the harness like they're wearing funky leg warmers. Slowly bring both sides of the harness up along your dog's sides and fasten the clips or buckles on top of their back. Make sure the chest piece sits comfortably against their chest without riding up into their armpits. Adjust all the straps until everything sits nice and snug but not tight. The whole process takes like thirty seconds once both you and your pup get used to it.
Troubleshooting Common Harness Struggles
Okay, so maybe things aren't going smoothly. Your dog's backing away, or twisting like a pretzel, or acting like you're trying to torture them. Deep breath! This happens to everyone, and there are totally ways to work through it. If your dog keeps backing up when you approach with the harness, you're probably moving too fast. Go back to the association-building phase and spend more time making the harness appear during treat time. For dogs who won't lift their paws, try teaching a "paw" or "shake" command separately, then incorporate it into the harnessing routine. Got a spinner who won't hold still? Practice in a corner or against a wall so they have less room to maneuver. And if your pup's straight-up refusing? Don't turn it into a wrestling match. That only makes things worse. Instead, break the process down into super tiny steps and reward each small success. Maybe today you just get them to sniff the harness. Tomorrow, you touch it to their body. The day after, one leg goes through. Slow and steady wins this race every single time.
Training Your Dog to Stand Still During Harnessing
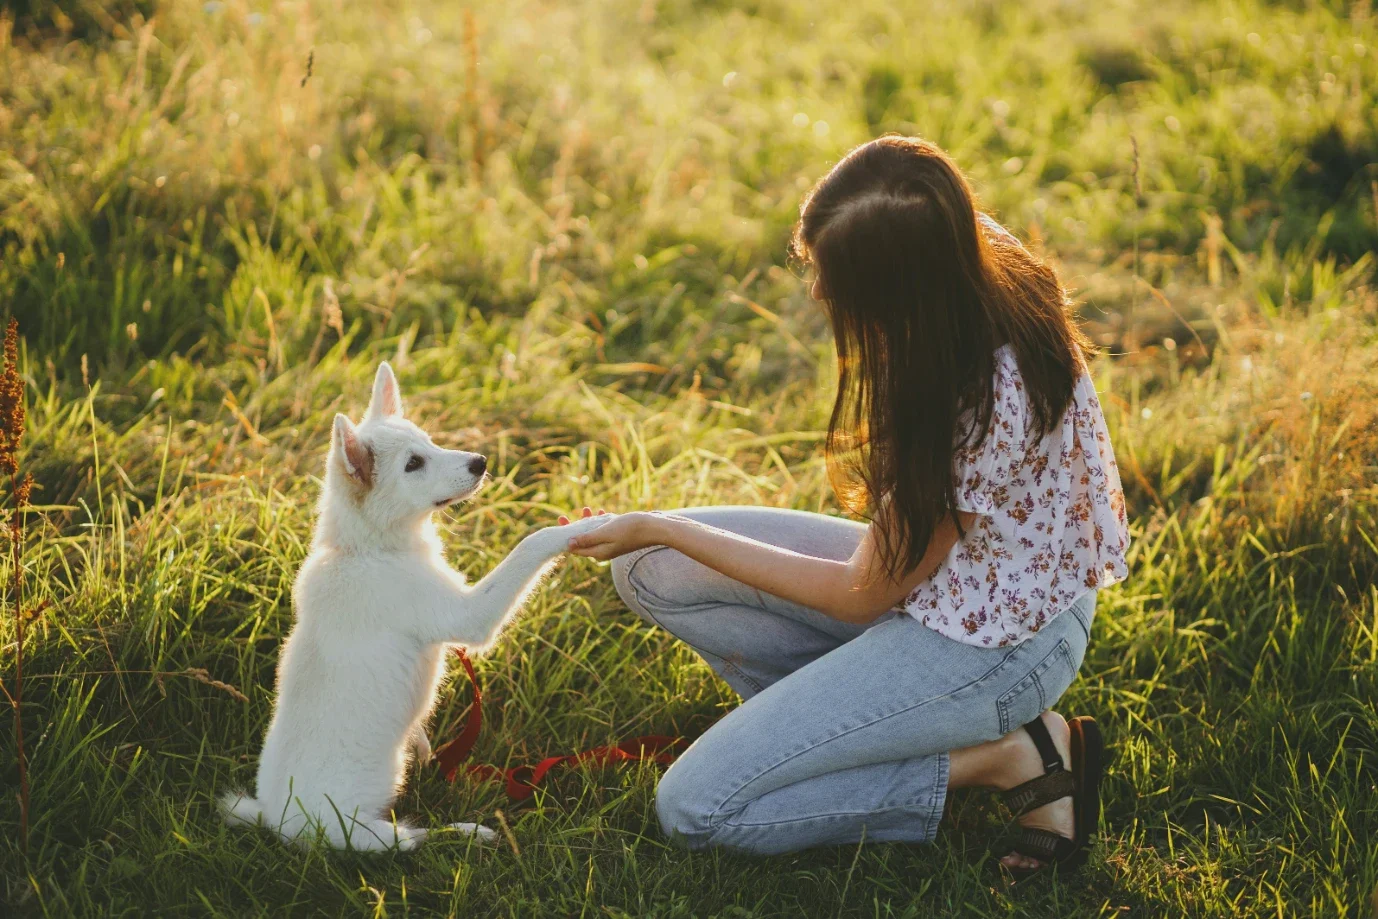
Here's a pro tip that'll change your life. Teaching your dog a solid "stand" and "stay" command makes harnessing about a thousand times easier. Start practicing these commands without the harness at all. Get your dog into a standing position, say "stay," and reward them for holding still for just a few seconds. Gradually increase the time they need to stay put. Once they've got that down, add in touching their body all over while they're staying. This gets them used to handling. Then incorporate the harness gradually, rewarding your pup for staying calm each step of the way. The key is making standing still super rewarding. Use high-value treats, the kind your dog goes absolutely bonkers for. Maybe it's cheese, or hot dogs, or those fancy freeze-dried liver treats. Whatever floats their boat! With consistent practice, your dog will start associating harness time with treat time, and suddenly they'll be running to you when they see it come out.
Adjusting the Fit for Maximum Comfort and Safety
Getting the harness on is only half the battle. Making sure it fits correctly is just as crucial. A poorly fitted harness can cause chafing, restrict movement, or even let your dog slip out during walks. Once the harness is on, check several key areas. Around the chest, you should be able to slide two fingers between the harness and your dog's body. Any tighter and it's too snug. Any looser and your pup might wiggle free. The straps shouldn't be twisted anywhere, and nothing should be riding up into your dog's armpits or groin area. That causes serious irritation over time. Watch your dog walk around for a minute. Are they moving normally, or does something seem to be bothering them? The harness shouldn't restrict their gait or make them walk funny. Check where the back strap sits too. It should rest comfortably on their back without sliding forward onto their neck or backward toward their hips. After your first few walks with a new harness, inspect your dog's coat and skin underneath for any redness or rubbing. If you spot issues, adjust the straps or consider trying a different style.
Creating Positive Associations With Harness Time
Want to know the real secret sauce for easy harnessing? Make it the best part of your dog's day! Every single time the harness comes out, something awesome should follow. Going for a walk is already pretty great, but you can amp up the excitement even more. Keep special high-value treats that only appear during harness time. Maybe do a quick play session right after getting it on. Some people teach their dogs that the harness means car rides to fun places or visits to the dog park. The goal is programming your dog's brain to think, "Oh wow, the harness! Something amazing is about to happen!" rather than "Ugh, that annoying thing again." Consistency matters big time here. If harnessing sometimes leads to fun stuff but other times leads to boring vet visits or getting left alone, your dog won't build that strong positive association. Try to keep the good vibes flowing, especially in those early training days. Pretty soon your pup will be running to you when they see the harness instead of running away.
Dealing With Anxious or Fearful Dogs
Some dogs have legit anxiety around having things put on them, and that's okay. Maybe they had a bad experience in the past, or they're just naturally more sensitive about handling. For these nervous pups, patience isn't just important; it's absolutely essential. Never force an anxious dog into a harness. That'll only make their fear worse and create a negative cycle that's hard to break. Instead, work with desensitization and counter-conditioning techniques. Start by rewarding your dog just for looking at the harness. Then progress to touching the harness, then touching the harness to their body, and so on. Each step should be paired with something your dog loves. This process might take days or even weeks, and that's totally fine. You can also try different harness styles to see if one feels less threatening than others. Some anxious dogs do better with step-in harnesses because nothing goes over their head. Others prefer overhead styles because there's less fussing with their sensitive paws. If your dog's anxiety is severe, consider working with a professional trainer or veterinary behaviorist who can create a customized plan.
How to Put Harness on Dog: Step-by-Step Training Guide for Puppies
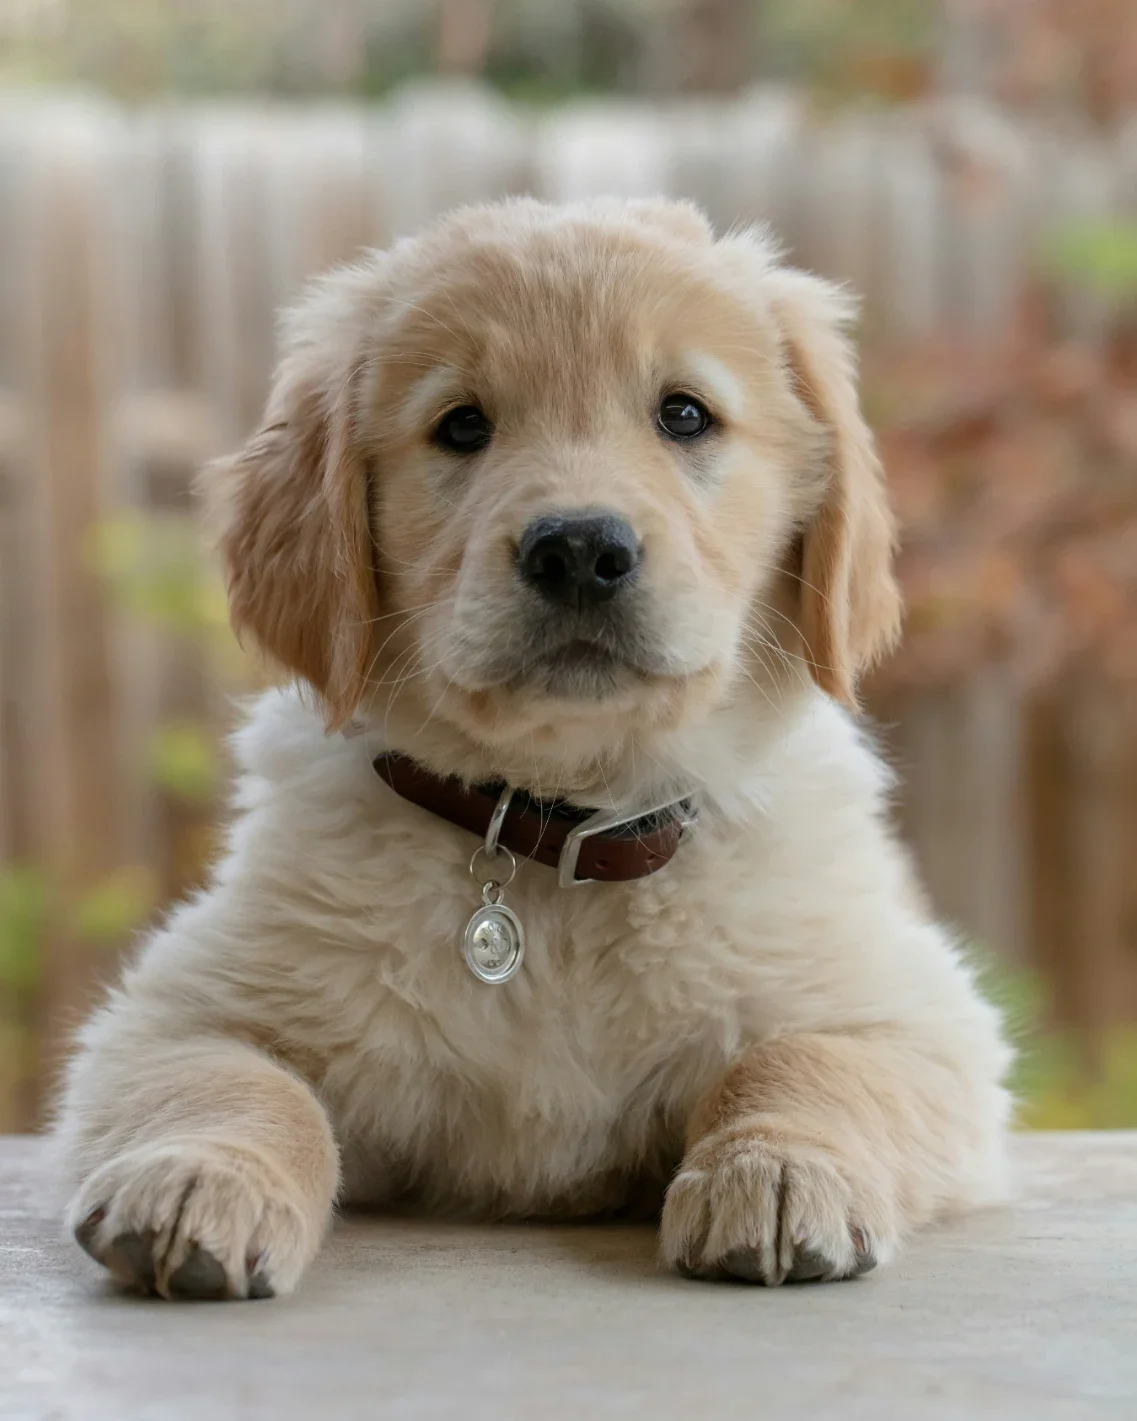
Puppies are a whole different ballgame! They're wiggly, distractible, and have the attention span of a goldfish. But starting harness training early is super smart because it helps them get comfortable with the process while they're still young and adaptable. The technique is basically the same, but you'll need to work faster and keep sessions shorter. Puppies can't focus for long, so aim for quick wins rather than perfect performance. Have treats ready to go before you even pick up the harness. Get your puppy's attention with a treat, slip the harness on while they're focused on the snack, then immediately reward them again. Speed is your friend here because puppies will start squirming the second they lose interest. Don't stress if it takes a few tries to get everything adjusted properly. That's completely normal. The more you practice, the smoother it'll get. Also, remember that puppies grow like weeds, so you'll need to adjust those straps frequently and potentially size up every few months. Check the fit before every walk to make sure your little one hasn't outgrown it overnight.
What to Do When Your Dog Becomes a Harness Escape Artist
So your clever pup has figured out how to back out of their harness? That's frustrating but definitely fixable. First, double-check that the harness actually fits properly. Most escape attempts happen because the harness is too loose or the wrong size entirely. If the fit is correct and your dog's still Houdini-ing their way out, you might need a different harness style. Front-clip harnesses with chest straps are harder to escape from than basic back-clip versions. Some harnesses also have an extra belly strap that makes backing out nearly impossible. Another common issue is dogs who've learned that pulling backward gets them free. If this is happening during walks, stop moving the instant your dog starts backing up. Don't pull on the leash because that actually encourages them to pull harder in the opposite direction. Instead, call them forward with treats and praise. When they step toward you, immediately reward that behavior. You're teaching them that moving forward is way more rewarding than trying to escape. For really determined escape artists, consider working with a trainer who can assess your specific situation and recommend solutions.
Building Duration and Wearing Time Gradually
Don't expect your dog to immediately love wearing their harness for hours on end. Just like breaking in new shoes, there's an adjustment period involved. Start with short wearing sessions. Put the harness on, walk around the house or yard for five minutes, then take it off and make it a party with treats and praise. Gradually increase the duration over several days or weeks. This slow progression helps your dog build positive associations without getting overwhelmed or uncomfortable. Some dogs adapt quickly and are totally fine wearing their harness all day, while others need more time to adjust. Pay attention to your dog's body language. If they're constantly trying to scratch at the harness, sitting down and refusing to move, or acting stressed, you're probably pushing too fast. Back up a step and spend more time at shorter durations. On the flip side, if your dog seems completely unbothered and is running around playing normally, you can probably progress faster. There's no universal timeline here. Every dog's different, so let yours set the pace.
Maintaining Your Harness for Longevity
Once you've got the hang of putting the harness on, don't forget about basic maintenance! Harnesses take a beating from daily use, outdoor adventures, and general doggy grossness. Check your harness regularly for signs of wear and tear. Look for fraying straps, weakening stitching, or hardware that's getting loose or rusty. A damaged harness can fail at the worst possible moment, so catching problems early matters. Most fabric harnesses are machine washable, which is super convenient. Just toss them in a mesh laundry bag, use gentle cycle with mild detergent, and air dry completely before using again. Leather harnesses need different care, usually involving special leather conditioner to keep them supple. Store the harness in a dry place when not in use, and try to have a backup on hand. That way if your main harness needs washing or repair, you're not stuck. Replace the harness entirely if it shows significant wear or if your dog outgrows it. Proper maintenance keeps your pup safe and saves you money in the long run.
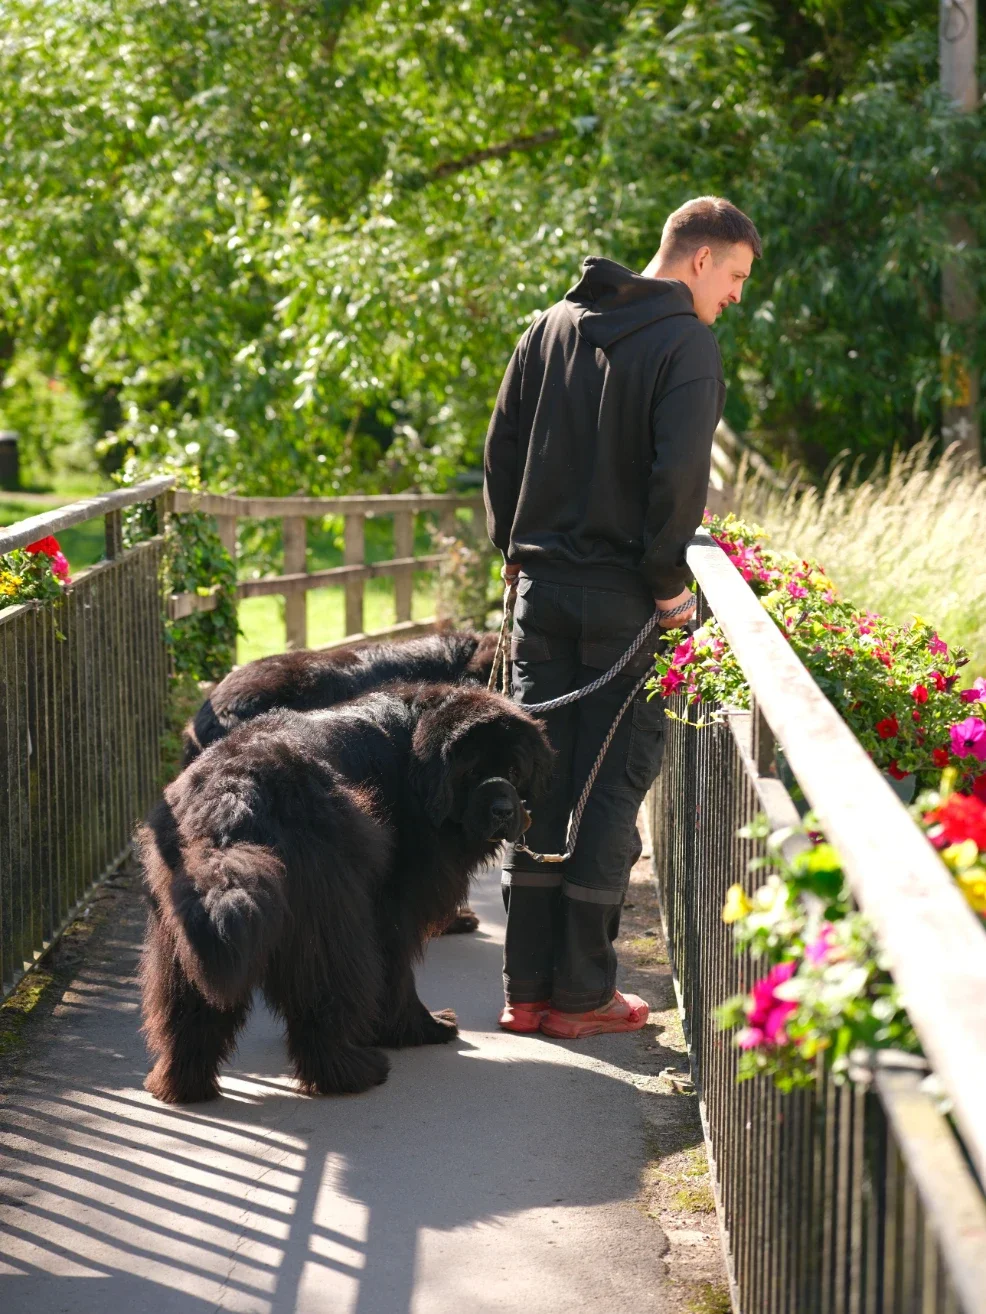
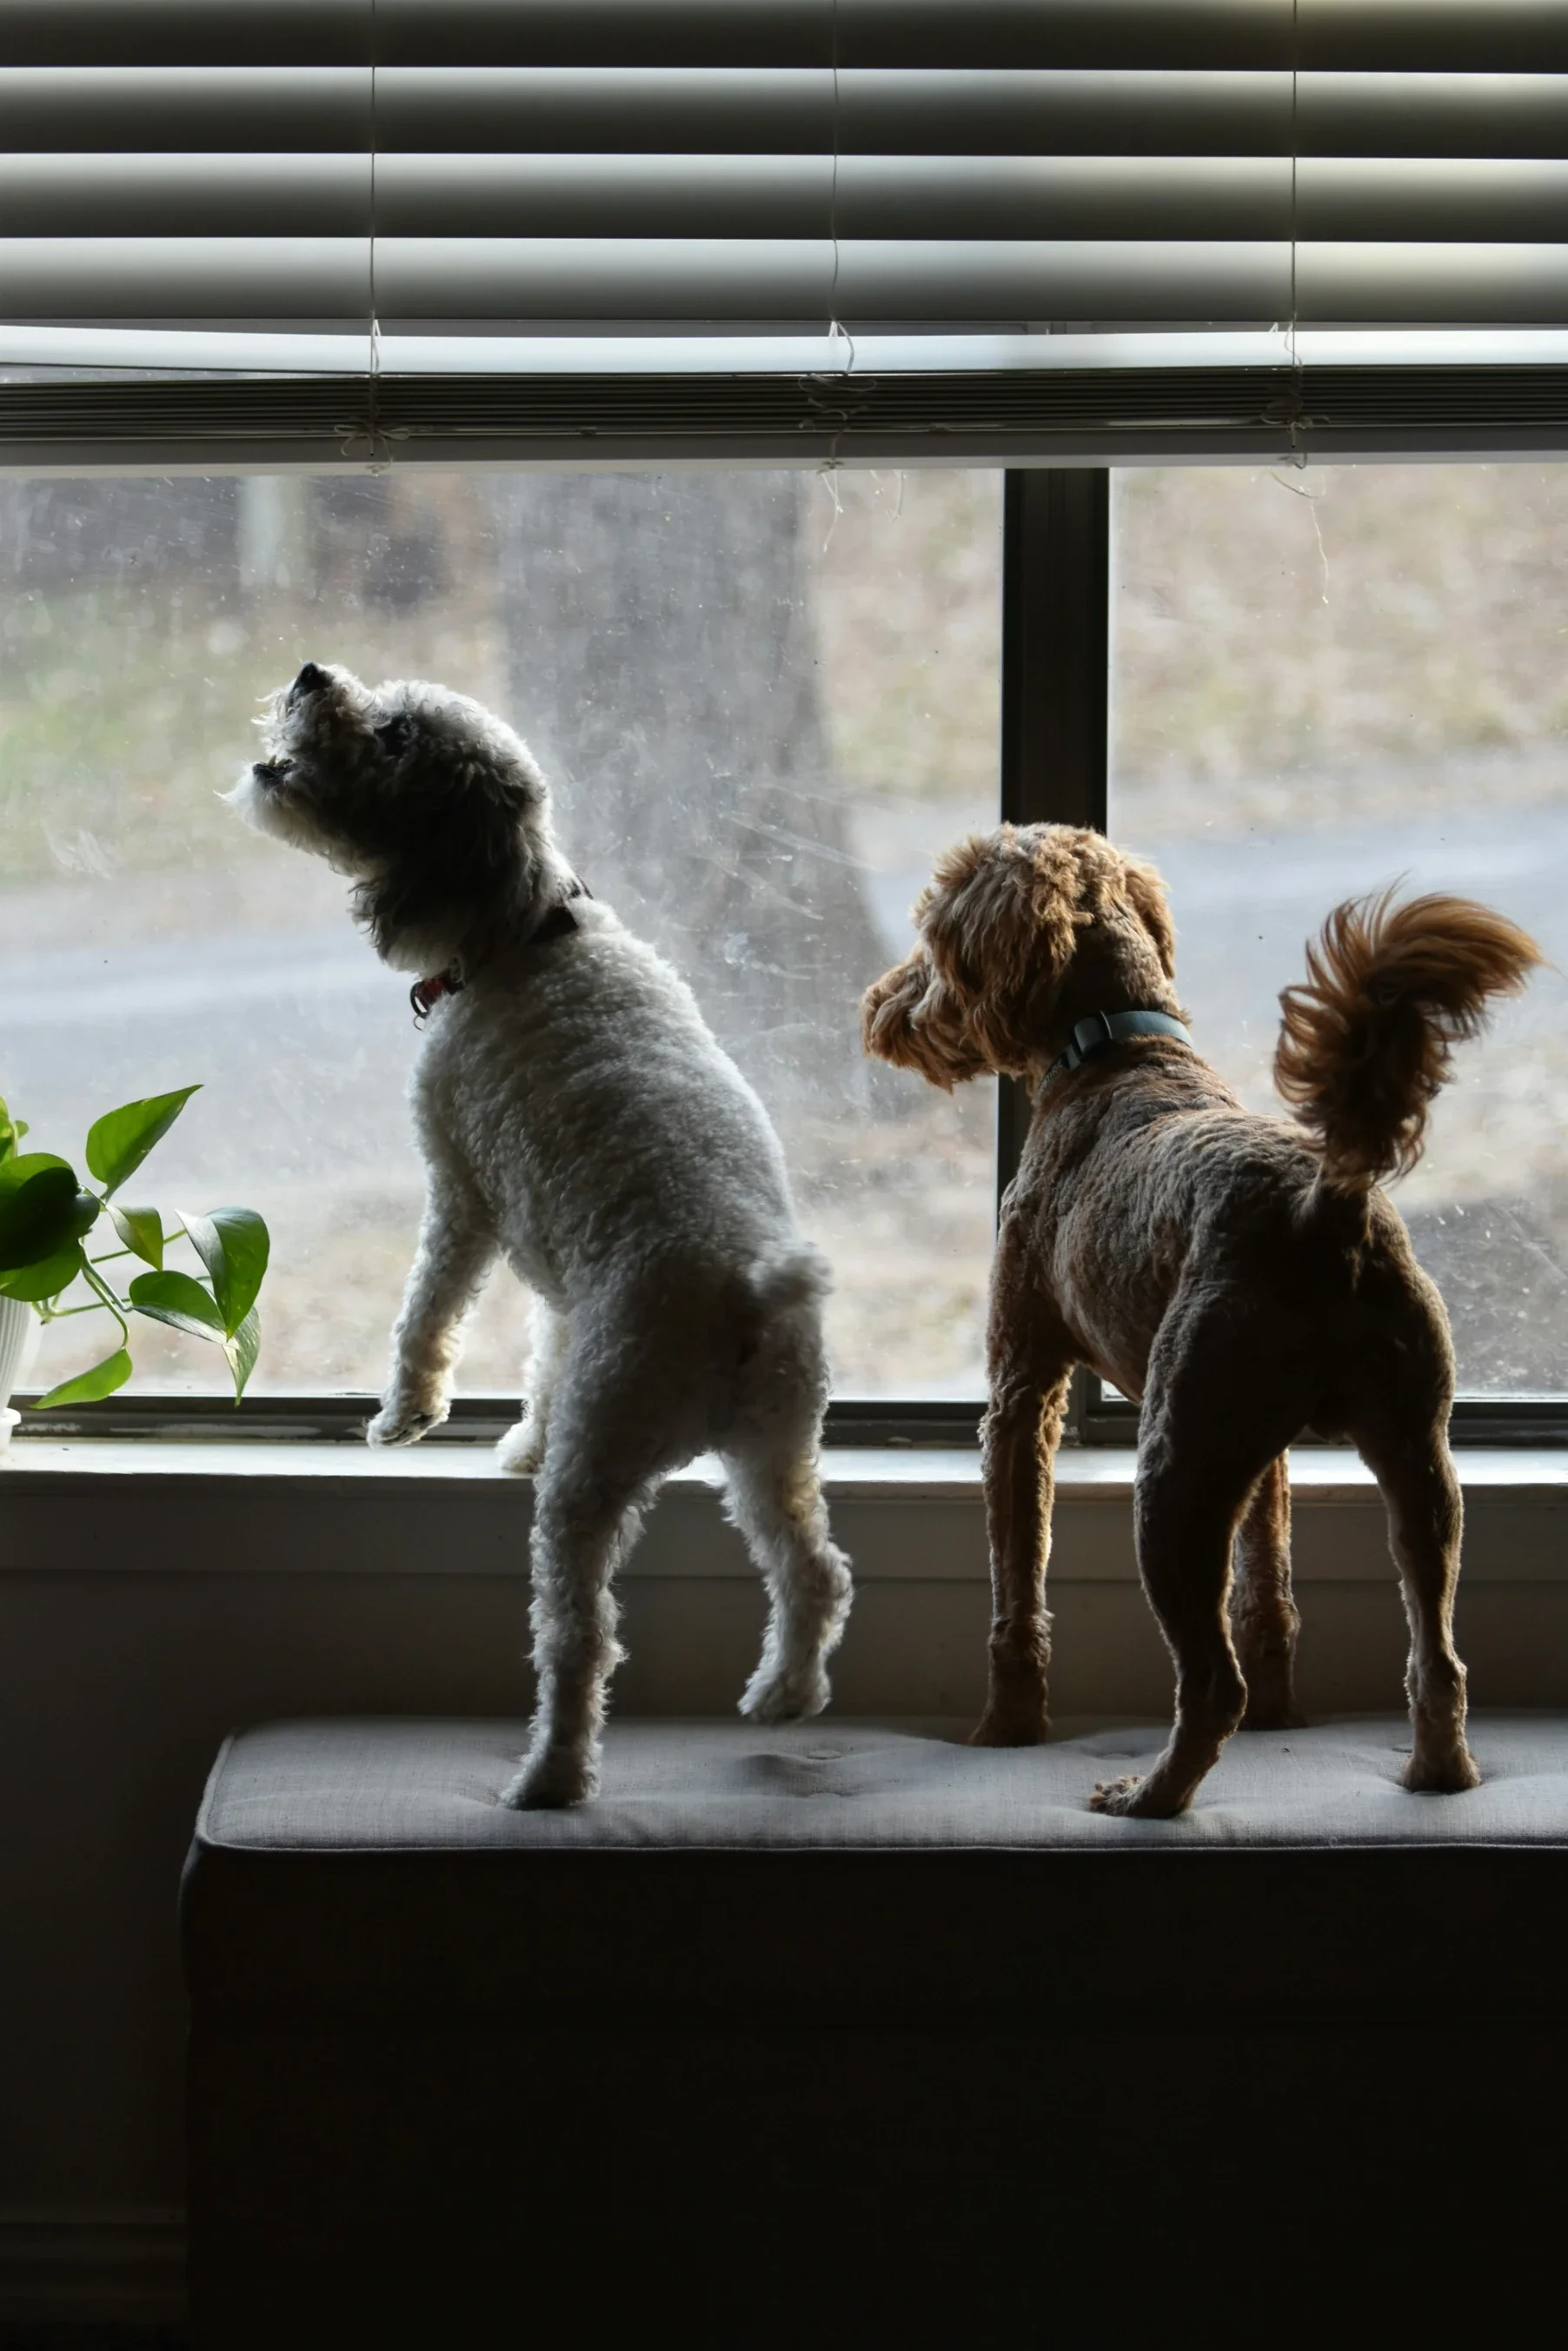
Advanced Tips for Multi-Dog Households
Managing harnesses for multiple dogs? Oh boy, things just got interesting! The good news is you can train all your dogs simultaneously using basically the same techniques. The challenge is keeping everyone organized and preventing jealous meltdowns. Here's what works: assign each dog their own specific harness in a different color or style. This prevents mix-ups and makes grab-and-go walks easier. Establish a routine where you harness dogs in the same order every time. Maybe biggest to smallest, or oldest to youngest. Consistency helps everyone know what to expect. While harnessing one dog, have the others practice their stay command or wait in their designated spots. This teaches patience and prevents the chaos of multiple dogs jumping around trying to be first. Keep each dog's harness hanging in a specific location so you're not searching when you're trying to get out the door. Some people use command hooks near the door, while others prefer a basket or bin. Whatever system you choose, stick with it. If one of your dogs is super enthusiastic about the harness while another is still learning, harness the reluctant one first while they're still calm, then do the excited one last when energy is high anyway.
Conclusion
There you have it! How to Put Harness on Dog: Step-by-Step Training Guide doesn't have to be complicated or stressful. With the right approach, plenty of patience, and lots of positive reinforcement, you'll have your pup happily wearing their harness in no time. Remember that every dog learns at their own pace, so don't get discouraged if progress feels slow at first. Celebrate the small victories along the way, and before you know it, harnessing will become just another easy part of your daily routine. Now get out there and enjoy those walks!
Read next: 15 Backyard Dog Run Ideas to Maximize Outdoor Space
Frequently Asked Questions
Q1: How tight should a dog harness be fitted?
A: You should fit two fingers comfortably between harness and dog without it being loose.
Q2: Can I leave a harness on my dog all day?
A: Not recommended; remove harnesses indoors to prevent chafing, matting, and potential skin irritation issues.
Q3: What age can puppies start wearing harnesses?
A: Puppies can wear properly fitted harnesses as early as eight weeks old safely.
Q4: Why does my dog freeze when I put their harness on?
A: Freezing indicates stress or confusion; slow down training and increase positive association building.
Q5: How often should I replace my dog's harness?
A: Replace harnesses when showing wear, fraying, or when your dog outgrows the current size.
Stay up to date with our latest ideas!